The rain my sweat and tears, the earth the bones of my being.
It's been raining for the last couple of days, which has been oh so lovely.
The soft pitter patter of droplets as they hit the roof, are to me, nature's melody. I love cozying up with a good book, opening my window just a crack and taking the sounds all in.
I've always wanted to take some rain shots, but was always so worried about getting my camera wet. Then I thought to myself, well people have obviously done it before, so why can't I? I looked up some "rain-protection-contraptions" on the internet and ended up combining a few ideas. I really should have taken a picture of it, it was quite a sight. I cut a plastic H&M bag in two, and lightly taped it around my camera with the opening in the back so I could adjust the settings. Then I cut a circle in the front for the lens opening, which I later had to rip open because my remote wasn't able to penetrate through the bag. There was no way I was going to get my camera wet, so, after I had it on the tripod, I attached a small umbrella to the tripod with masking tape. (easier to get off than scotch) It actually stayed, and my camera didn't even get one droplet on it! I was pretty stoked. :]
How-to-Hooray:
(a little short narrative by me, explaining how to create the first image.)
For the first image, I used my trial version of Photoshop and used the "layering effect" to create a triple exposure. It was so fun, and extremely easy! My trial version of Photoshop expires today, but I think I've decided I'm going to treat myself and buy it. :)
Here are the images I used to create it.
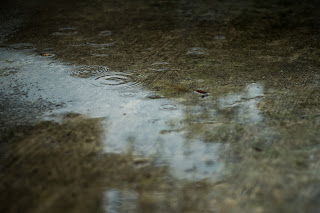
<-- this was the "Background" photo.
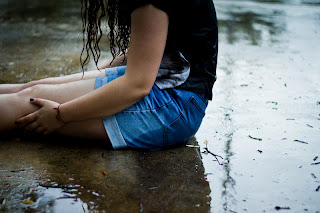
<-- this was the first layer.
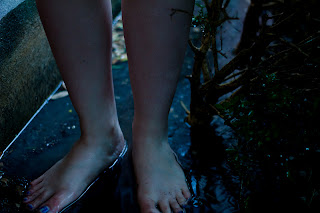
<-- and this was the second layer.
All you do is click "file" and "open" button to bring your images into Photoshop. I did this for all three.
First, the "Background photo I flipped so the puddles with ripples in it
would be on the left side instead of the right side. To do this, click
"Edit" and scroll down to "Transform" then "Flip horizontally". :]
Then I selected the photo I wanted to layer on top of the "background photo" by pressing "Ctrl, A", which is the "Lasso" tool on the left panel.
Still having the selected photo, I moved it to the "Background photo" by using my mouse and bringing the photo to the top and gliding over the tab of my background photo. Photoshop will then automatically view the background photo and you can ''drop" your first layer on top of it. Then, adjust the opacity of the "layer photo" as needed. :)
I did that same procedure for the second layer photo.
For the first layer, I turned the "Oppacity" slider down to 66%. I did the same with the second layer, but down farther to 30%, because the photo was darker and showed up more than the first photo.
And that's basically it! :) I did use Lightroom a bit to sharpen the tree branch on the right. I wanted it to show up more because I liked how it looks like my spine.
hope you're having a wonderful day,
xxoo


 <-- this was the "Background" photo.
 <-- this was the first layer.
 <-- and this was the second layer.